
A DIY Account on How to Replace the Headliner of Your Car
Once you peel off the damaged material, you will need to use a wire brush to remove all of the old bits of fabric or adhesive. Failing to do this will lead to a multitude of problems for you in the future, since you would have failed to prep.

When one has hardly any clue about how to go about fixing their car, you can hardly expect them to know how to replace the headliner of the car either. Having said that, one can actually do the latter themselves as long as they have a clear picture of what they are doing. It is basically the fabric part that is attached to the roof of your car. Having said that, a sagging headliner can very well turn out to be a nightmare for you if not nipped in the bud at the right time. You can be absolutely positive of that fact.
Over time, what happens is that due to wear and tear, the headlining fabric separates from the backing board, leading to a sagging headliner. This obviously happens because the condition of the glue deteriorates over time. But how does one get it back to normal again? Well, before rushing off to a car roof sagging repair service, just know that with a few basic tools and a couple of hours free, you can get it to look new again.
Here are the top five ways in which it can be done:-
- Unscrew everything attached to the roof: This means everything, from support handles, sun visors and the like. Once you do that, the only thing left is the moulding and the edges that are tucked under. Gently pry both of them out. This is the very first step that you should take before anything else.
- The aspect of cleaning: Once you peel off the damaged material, you will need to use a wire brush to remove all of the old bits of fabric or adhesive. Failing to do this will lead to a multitude of problems for you in the future, since you would have failed to prep.
- Gluing the new material back: Once the new fabric is in place, remember to fold it back from the middle. Once you have applied a good spray adhesive to half of the fabric as well as the uncovered board, do the same for the other half. In this regard, it is vital that you ensure all the wrinkles are gone and that you allow the glue to dry.
- Cutting and trimming: Cut along the edge of the headliner using a sharp utility blade. When you apply the new cover, do try to replicate those overlaps. Sometimes the headliner can end up having holes for accessories that were never installed, so make sure that you trim the appropriate holes.
- The process of reinstallation: Now if done too fast, this process can turn out to be a disaster. Being a throwback to the earlier procedure, reattach the mouldings and tuck the headliner back under them. Finally, once you have replaced all of the accessories, make sure that all the electrical connections are secure.
Finally, when all is said and done, one also needs to remember that not all headliners are created equal. There are some people out there that actually think replacing a headline is extremely straightforward and easy when it is not always the case. Finding a hack that is suitable for your car is crucial. That is not something that you can afford to forget.
Always remember, if you are not sure, consult and call up a professional service. Sometimes, even your mould might refuse to come loose. Don’t get too ahead of yourself thinking you know what you are doing when in reality, you have little to no clue. There are many ways in which you could make the problem worse that way, so do keep that in mind.
About the Creator
Natalie Ige
Natalie is a Blogger . She loves writing about lifestyle,home decor, relationship and so on. She is good at her job and passionately writes for Brands and helps in building their fame.
Keep reading
More stories from Natalie Ige and writers in Wheel and other communities.
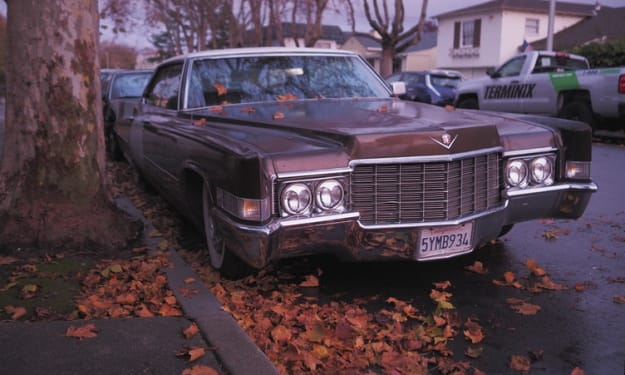
Expert Tips that Will Help You Maintain Your Favorite Vintage Cars in Good Shape
If you own a vintage car, then you would definitely want to take good care of the car and maintain it perfectly. The point is that you may want to resell your vintage car or want to gift it to someone or you may just want to hold on to that Vintage car. Whatever be the motivation, you would still need to take good care of the car so as to ensure that it does not fall into disrepair and disuse. Here are a few tips which should enable you to take better care of your vintage car.
By Natalie Ige5 years ago in Wheel
HC Licence vs. Standard Licence: What's the Difference?
Have you ever imagined yourself at the helm of a mighty monster truck or a huge trailer trundling hundreds of miles? For example, you are likely to be considering applying for the HC licence. However, you need to know a couple of points that are an essential difference between an HC licence and a standard licence before you get into the driver’s seat. Curious about how to get an HC licence in NSW? It complicates more than the latter being solely licence-providing. Let's begin by discussing the different types of licences given and then you can choose which one is most suitable to your case.
By Merry Constatiusabout 16 hours ago in Wheel
What Causes Your Mercedes-Benz To Jerk When Accelerating?
The engine is supposed to generate the mechanical torque required to keep your car in motion. To do that it needs a steady supply of air-fuel mixture. Besides, ignition or spark generation timing also has a significant influence on engine performance.
By Bimmer Performanceabout 10 hours ago in Wheel


Comments
There are no comments for this story
Be the first to respond and start the conversation.